
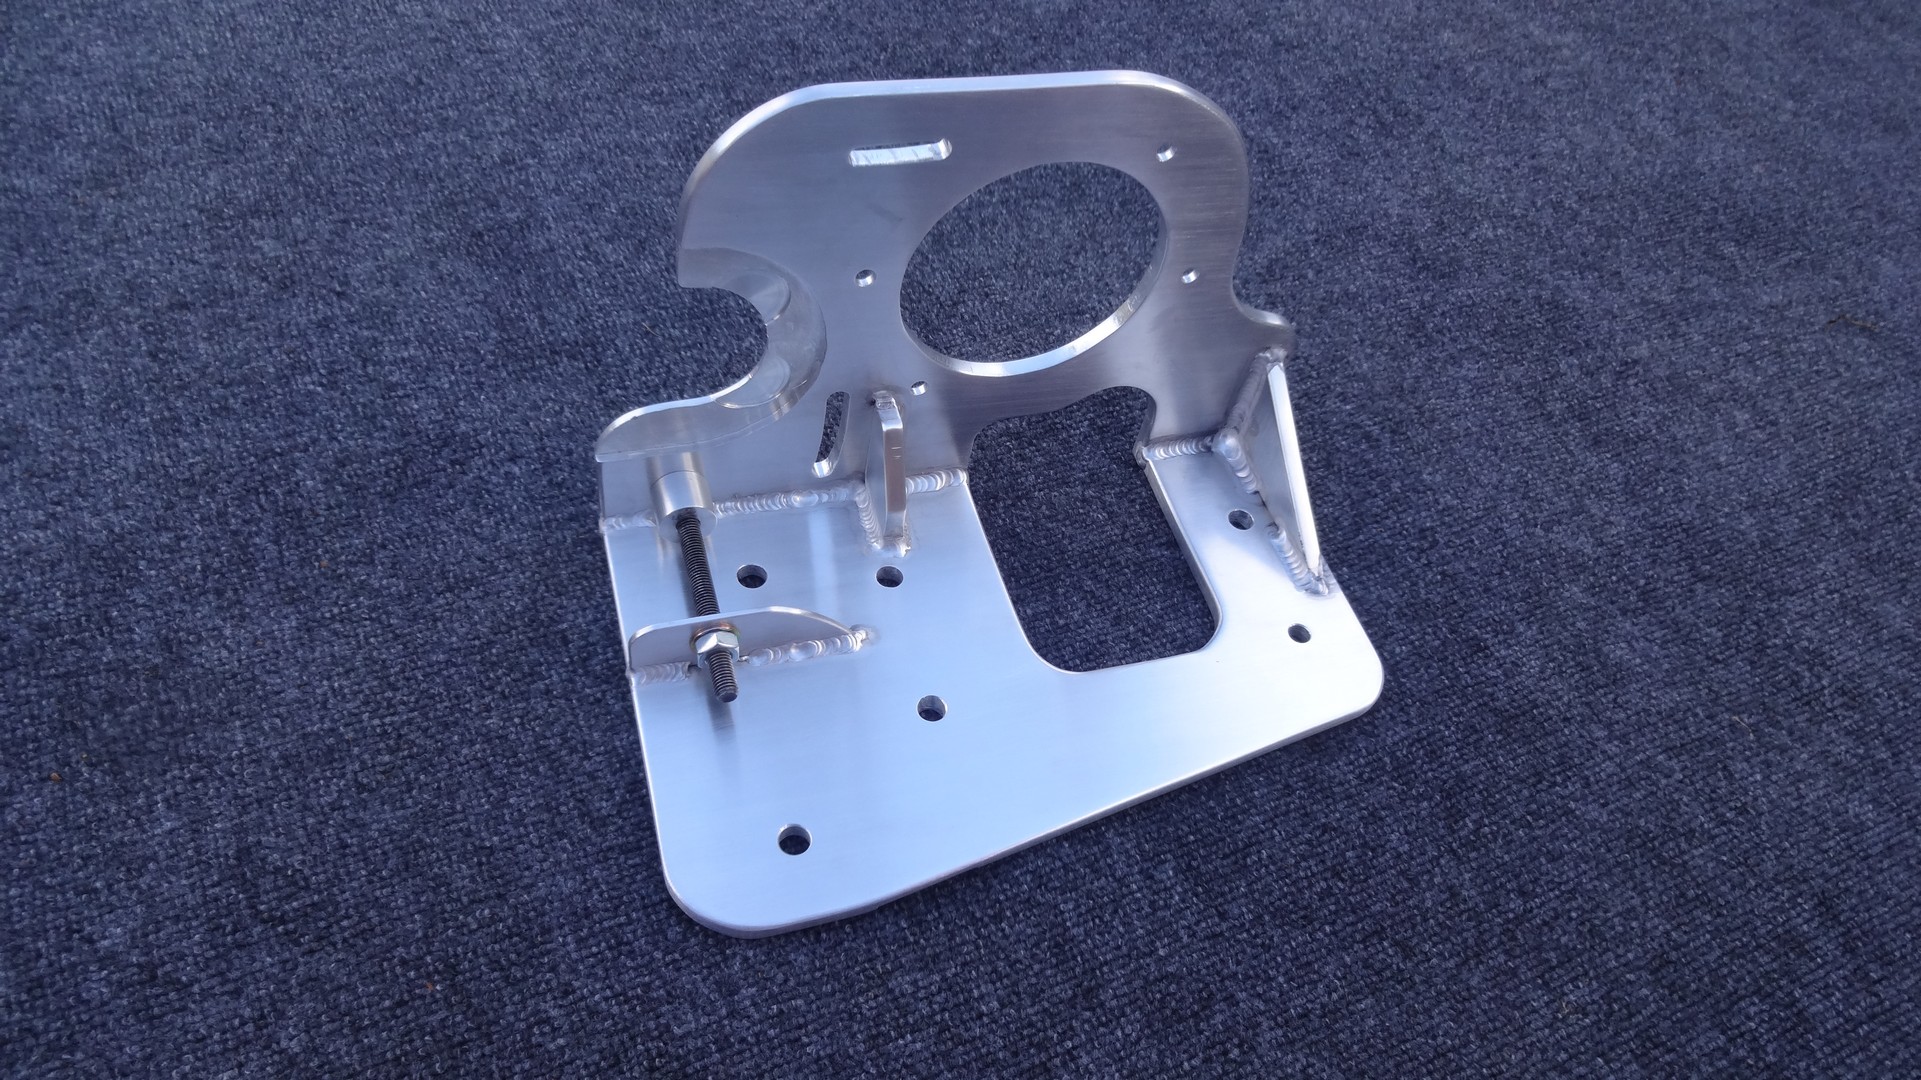
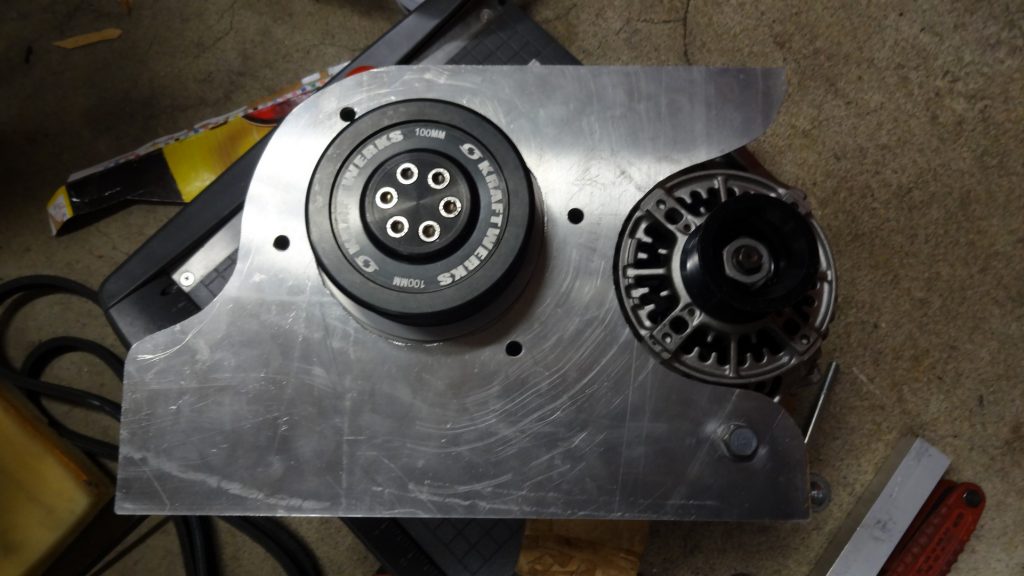
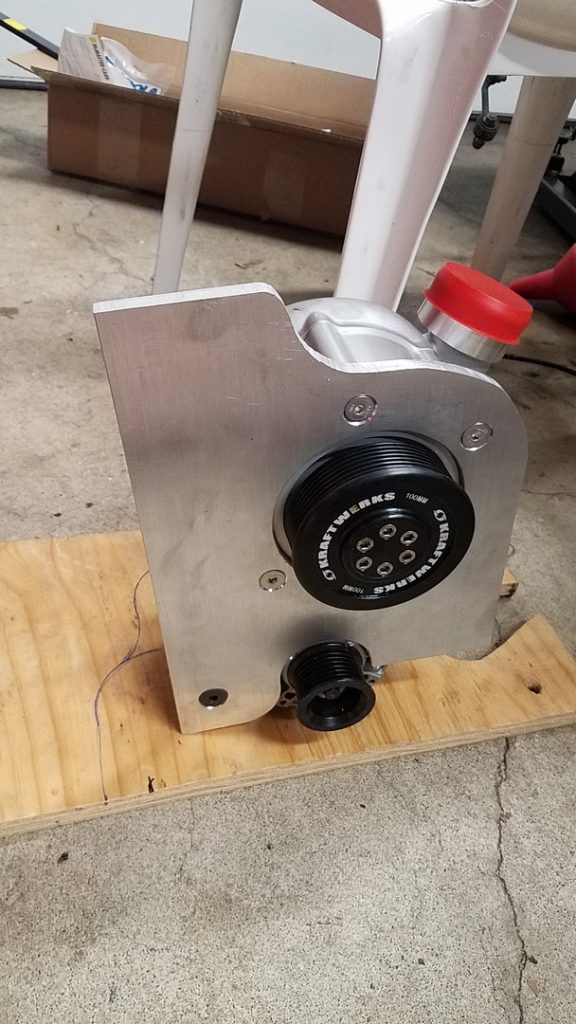
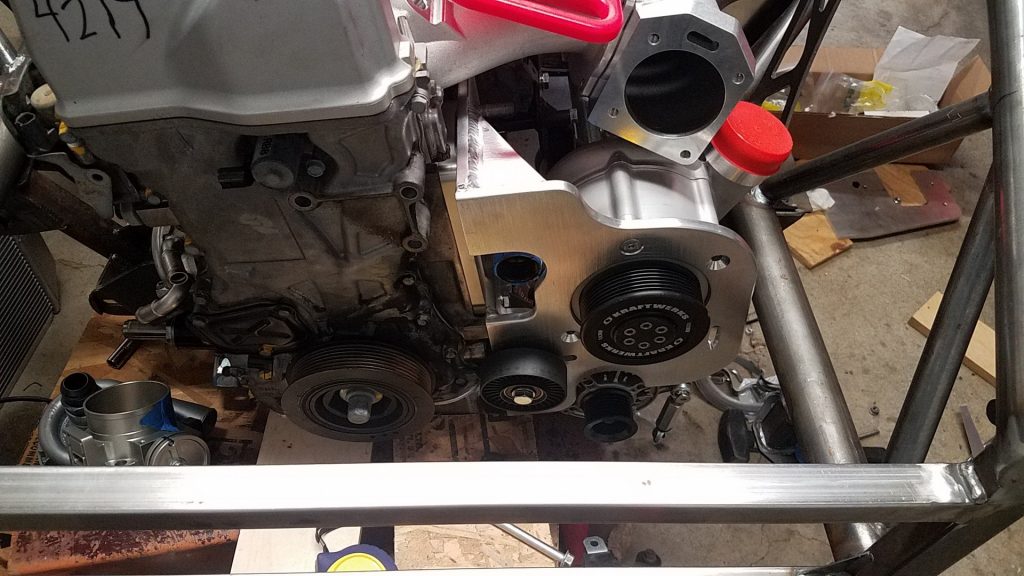
Supercharger/Alternator Bracket
Here it is. This bracket enables the mounting of a centrifugal supercharger, which will give this engine 2.5 times more power (around 500hp).
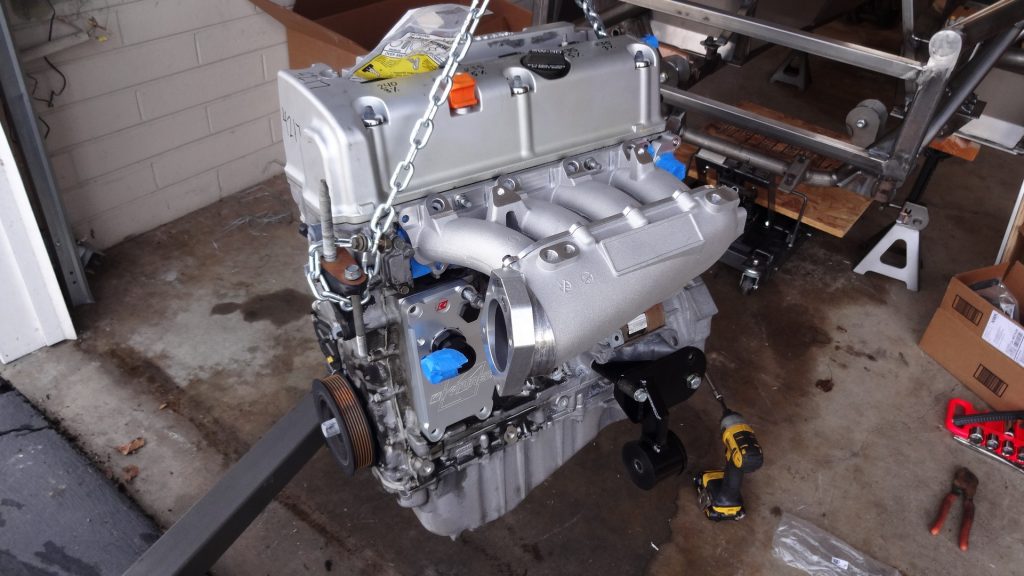
As stated in the previous entry, the forced induction option we chose for the build is supercharging. While there are some supercharging options for this engine, none of them work for this application. This engine came transversely mounted in factory vehicles, but in our rear wheel drive application the engine is mounted longitudinally.
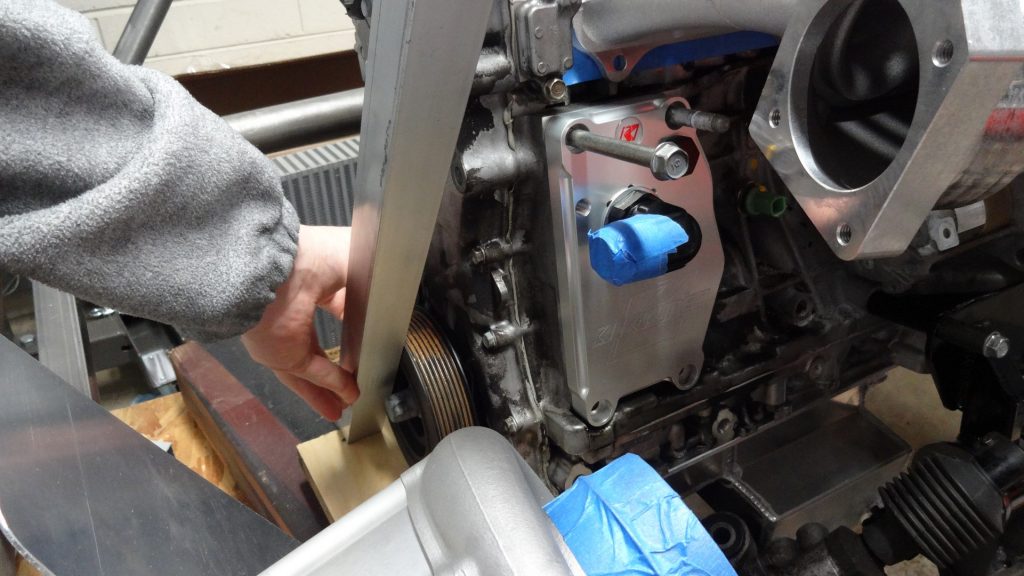
Water Pump Elimination
The first thing that had to be done was to eliminate the factory water pump. This has two benefits, first it made space for the supercharger. Second, the factory water pump and tensioner weighs about 13lbs, and the electric water pump we are using instead weights less than 3lbs. So 10lbs saved.
A blockoff plate from K-tuned was installed, with an -16AN fitting. We put some tape over the fitting to protect the sealing surface. Our water pump and radiator will have AN fittings as well, so AN lines for the whole cooling system.


Will it Fit?
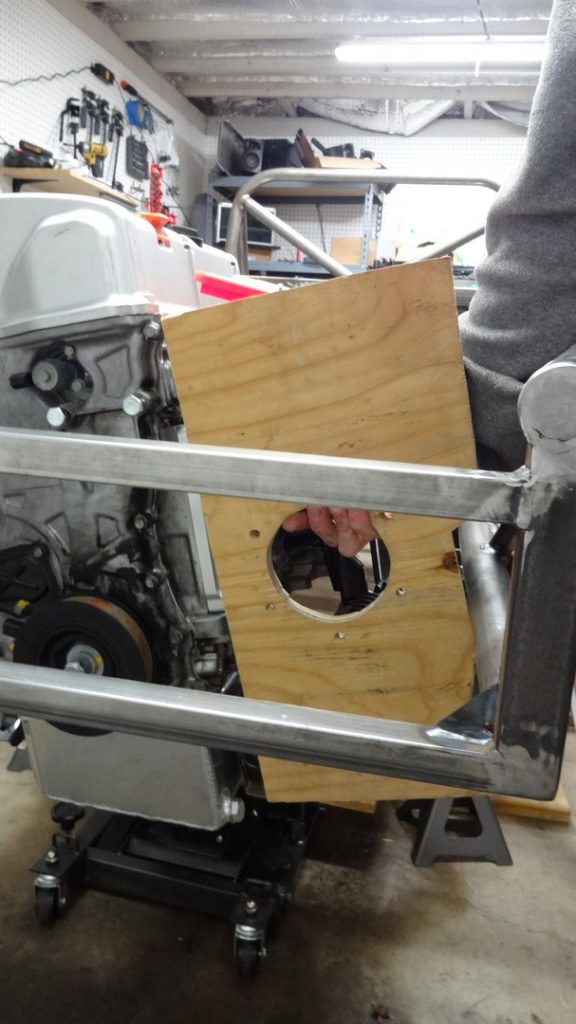
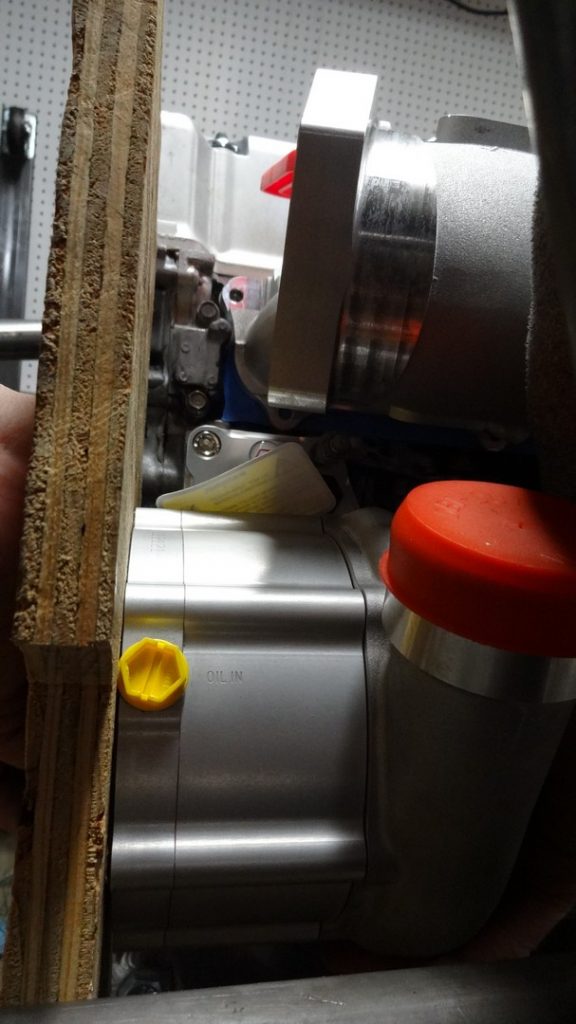
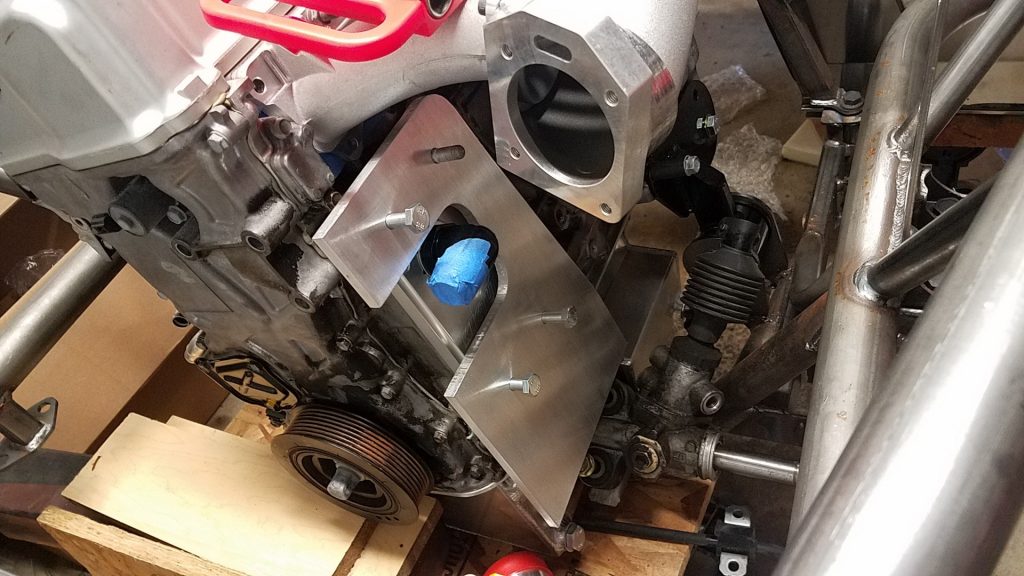
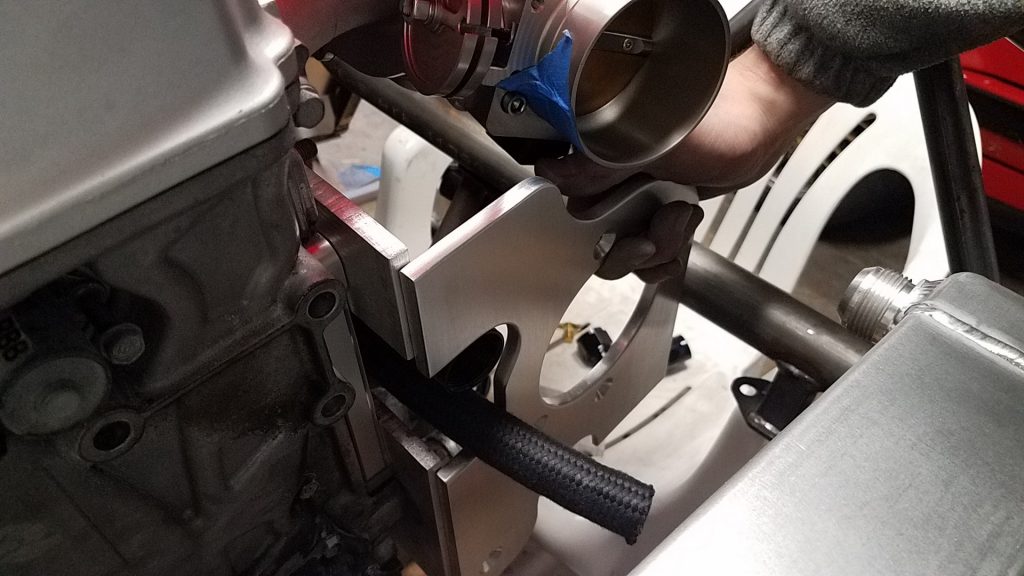
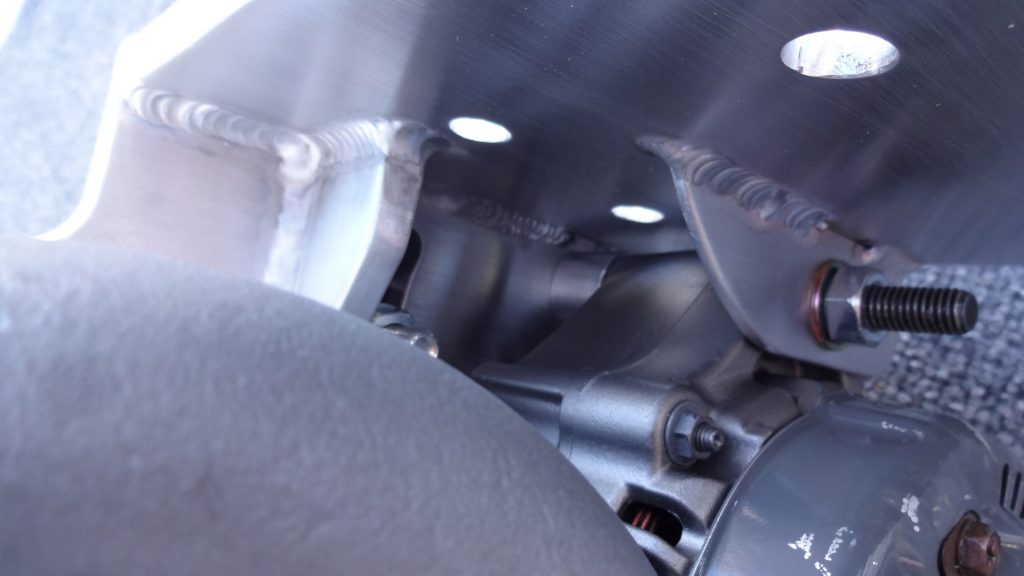
After getting rid of the factory water pump, it was still unknown if it was even going to be possible to fit the supercharger and alternator. Because of the steering rack, the alternator has to sit higher than it otherwise could. The supercharger also has to sit +/-15 degrees from upright to ensure proper oiling, so we had to work within those constraints.
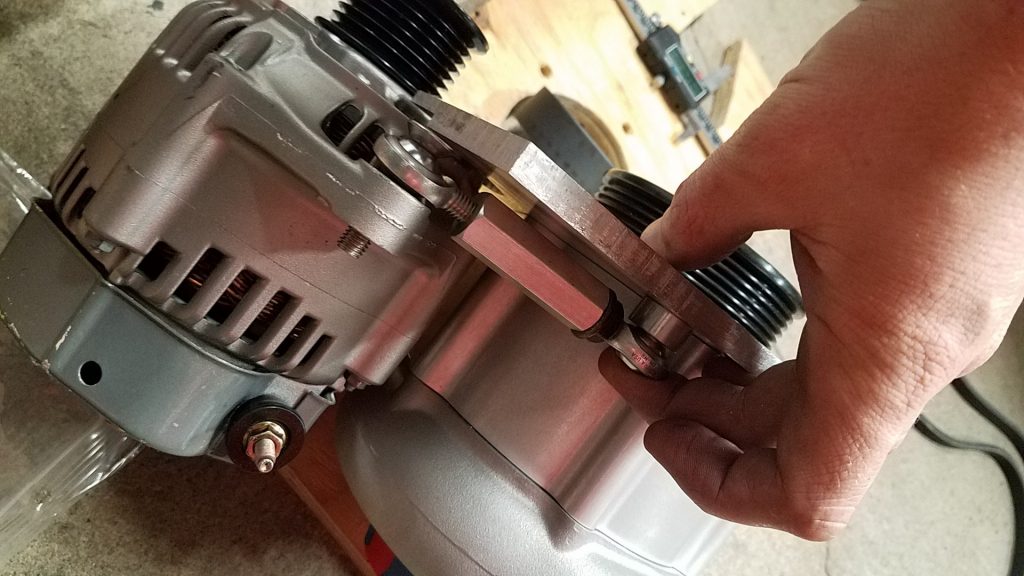
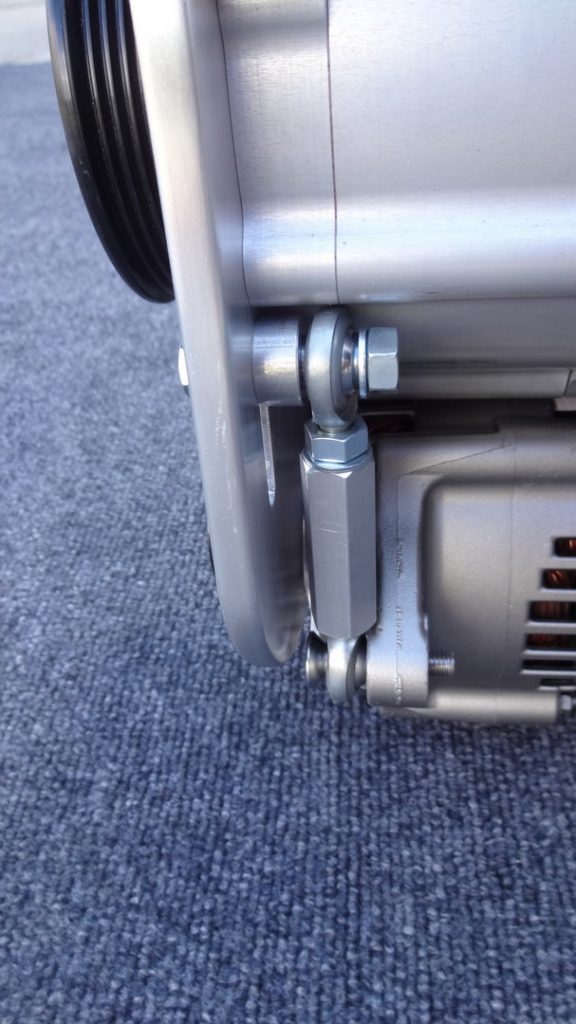
First a quick wood mockup was made, then a more refined one was made out of some spare sheet metal. The stock alternator mounts with the bolts going perpendicular to the alternator, which wouldn’t be easy to mount, and I additionally wanted to add tensioning functionality to the alternator to eliminate the factory spring loaded tensioner. Spring loaded tensioners can bounce around at high RPM, which would cause belt slip on the supercharger. After looking at a lot pictures, a Toyota alternator that has the mounting bolts parallel to the alternator shaft was found. One mounting hole would be used to mount the alternator, and the other hole for an adjustable turnbuckle for tensioning.
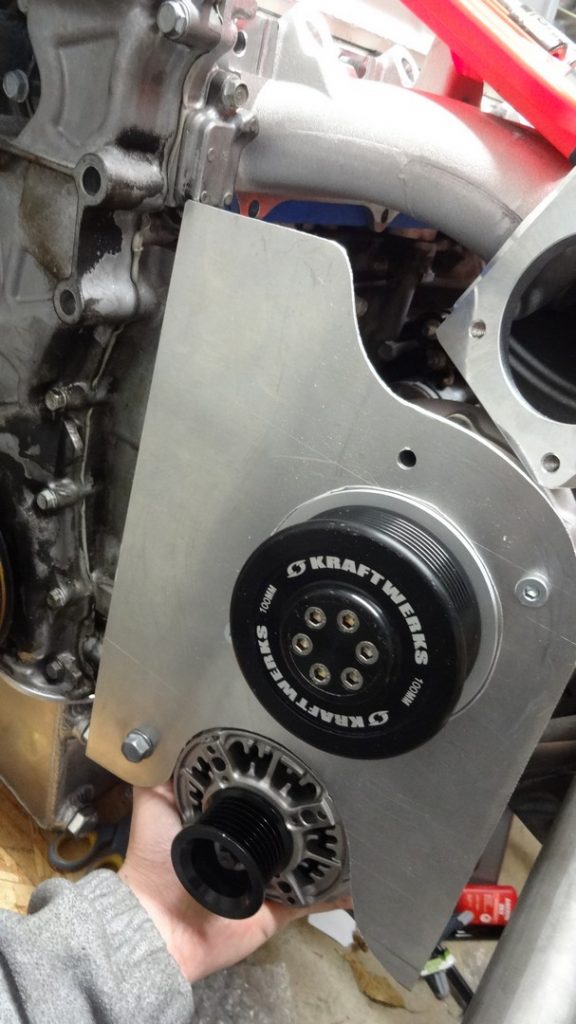
Pulley Alignment
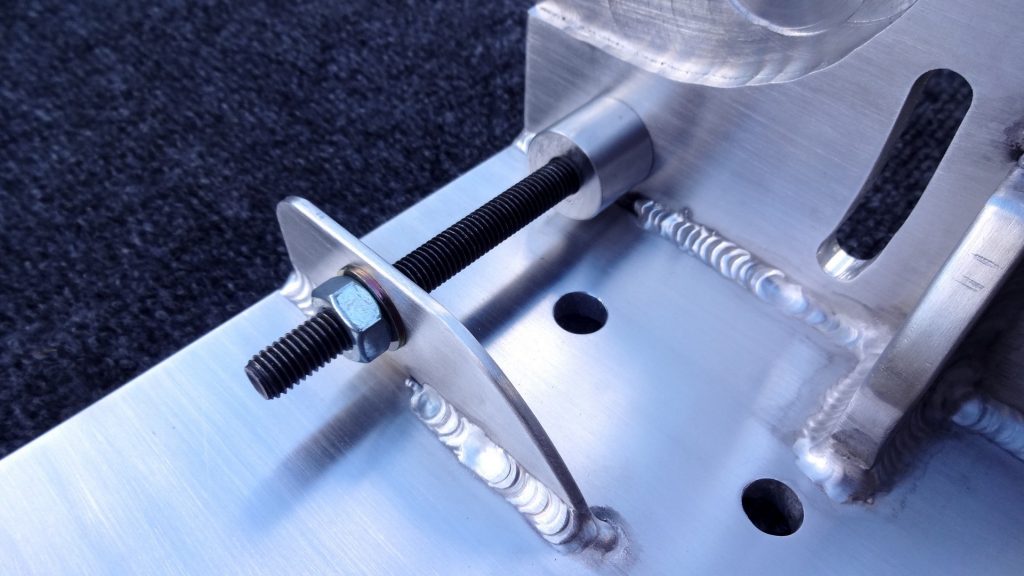
If the for-aft alignment of the different pulleys are off, the engine belt can jump off or wear prematurely, so it was very important to get this right. A lot of measurements had to be taken. Measurements were taken off the pulley faces as that was the easiest place to get a good reference measurement from. Then measurements had to be taken from the pulley face to the belt ribs, as this is not equal for all the pulleys. Once these measurements were known, a straight edge was used to measure from the crank pulley to the mounting bolts for the bracket.
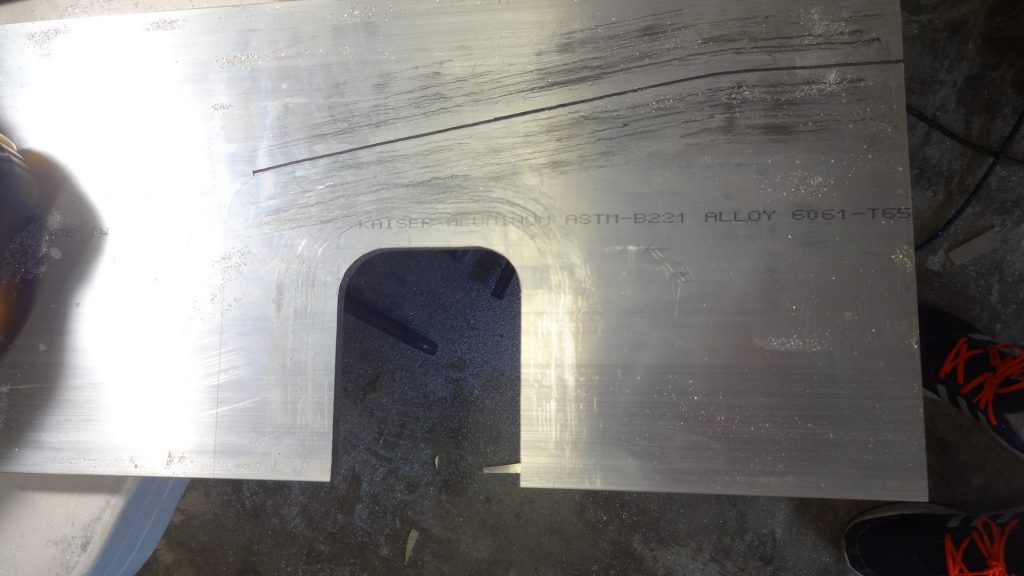
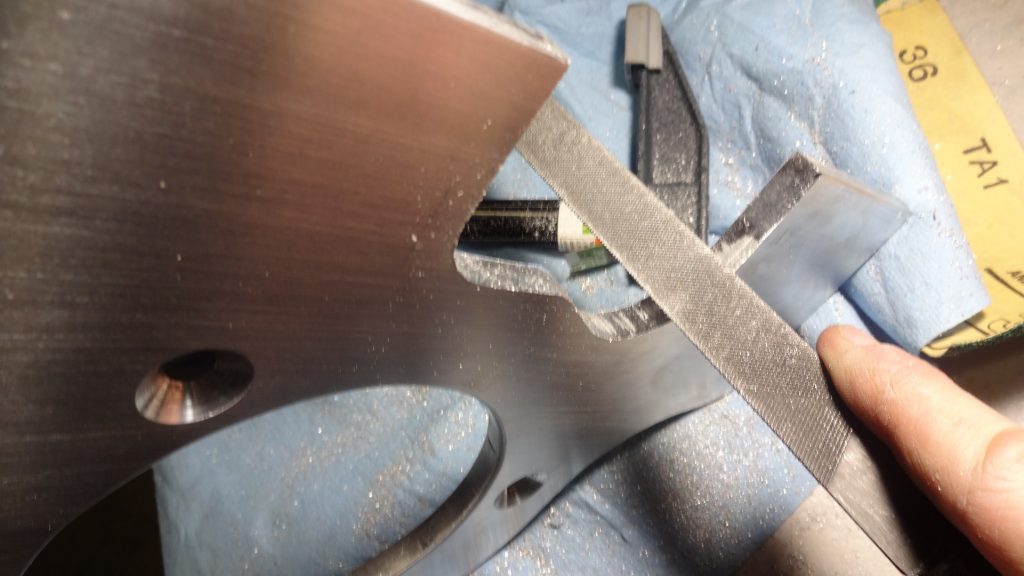
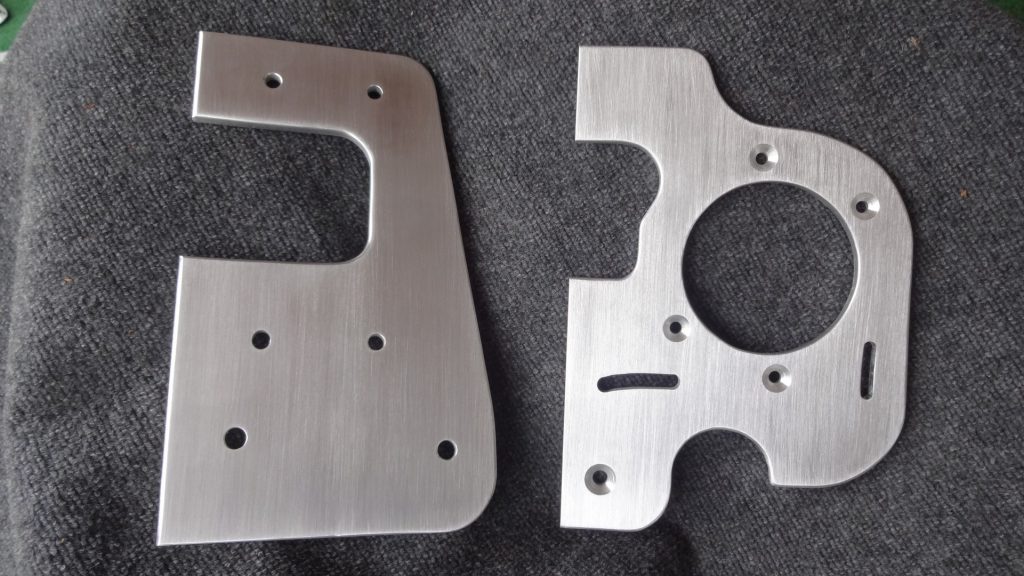
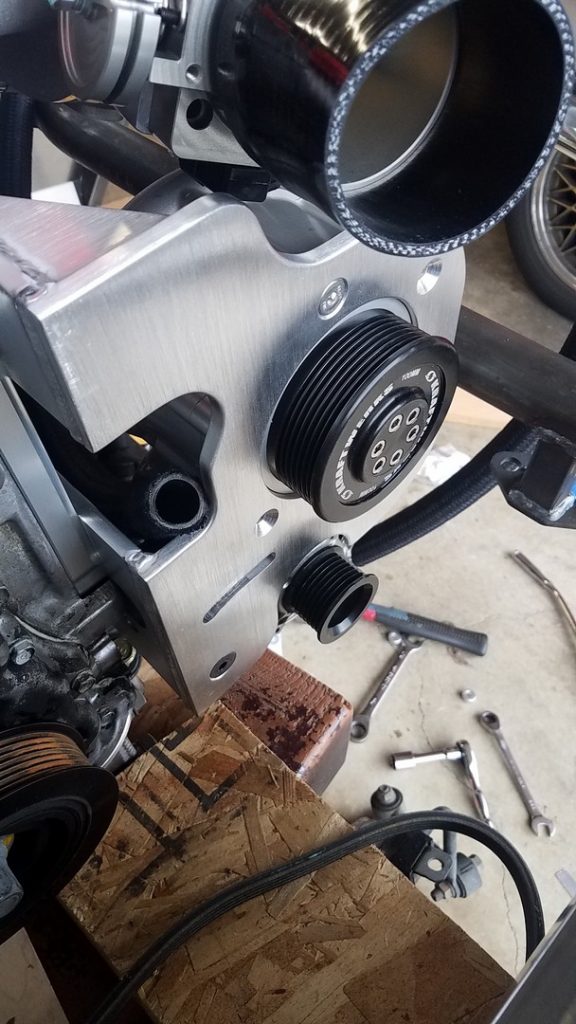
Cutting the Bracket
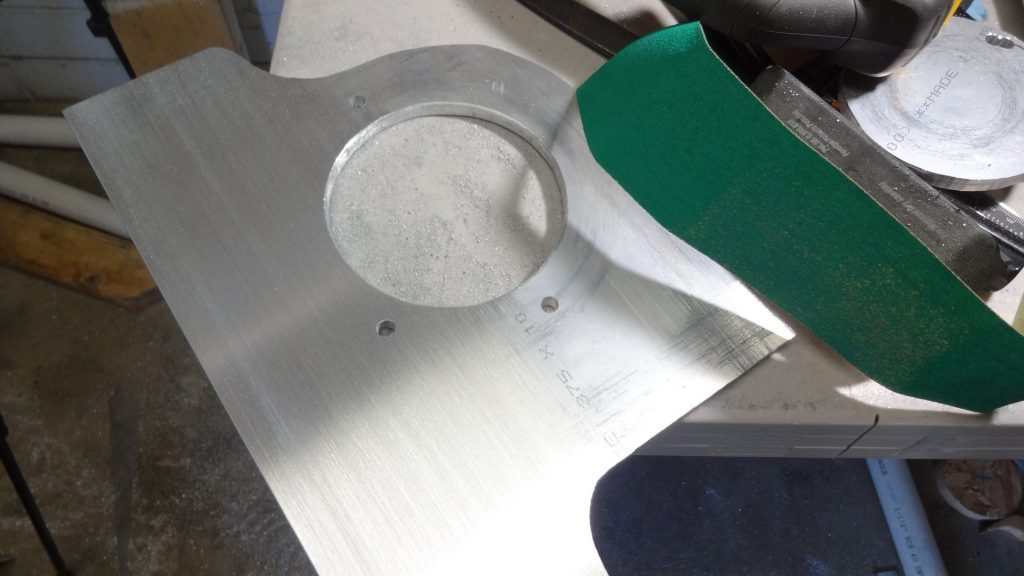
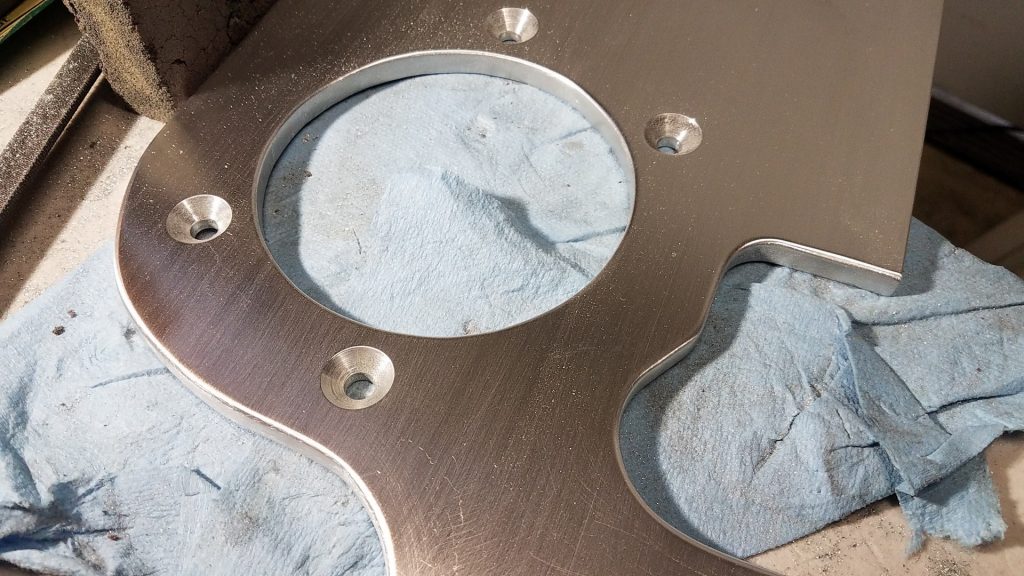
The bracket was made from some 3/8” aluminum. The shapes were cut with a jig saw believe it or not. It was slow going but accurate, and it wasn’t to hard to smooth out later. Some recesses had to be machined out on the back side for the alternator to be able to sit properly. All the mounting holes were countersunk for a clean look and to prevent belt interference. A left hand tap and right hand tap were used to make an adjustable turnbuckle.

Coolant Line Pass Through
Next, a hole was cut for the coolant lines to pass though.

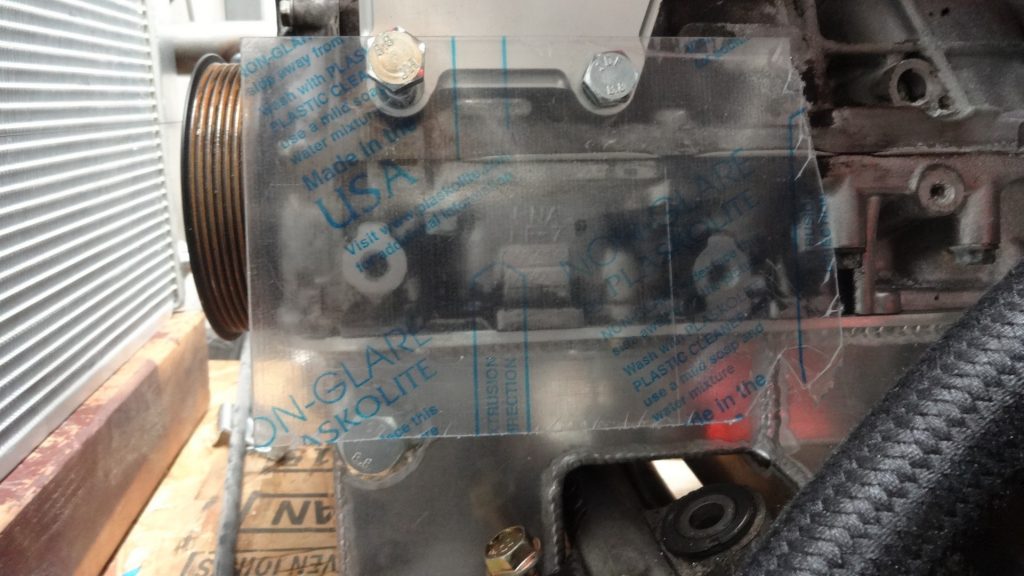
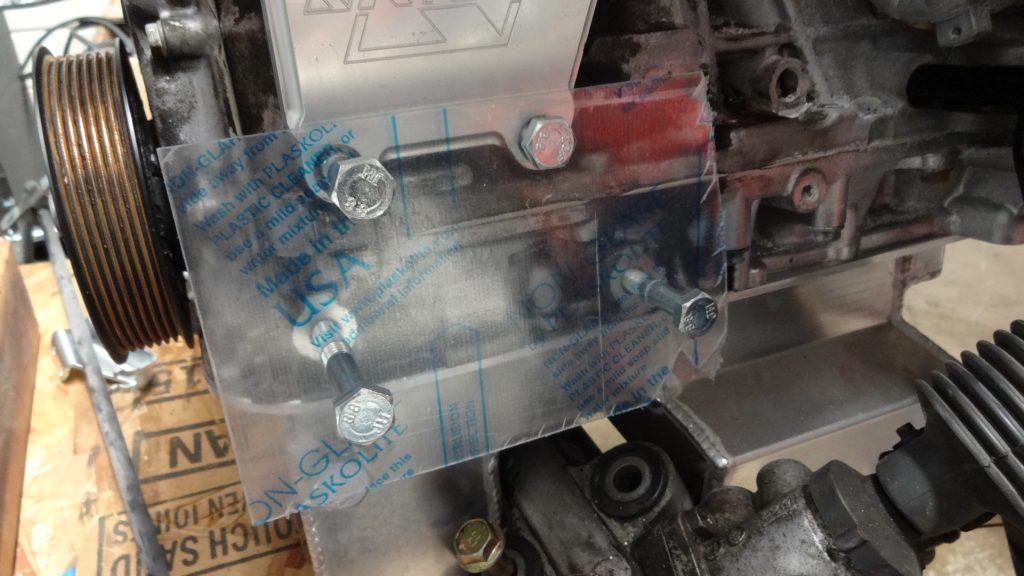
Mounting holes
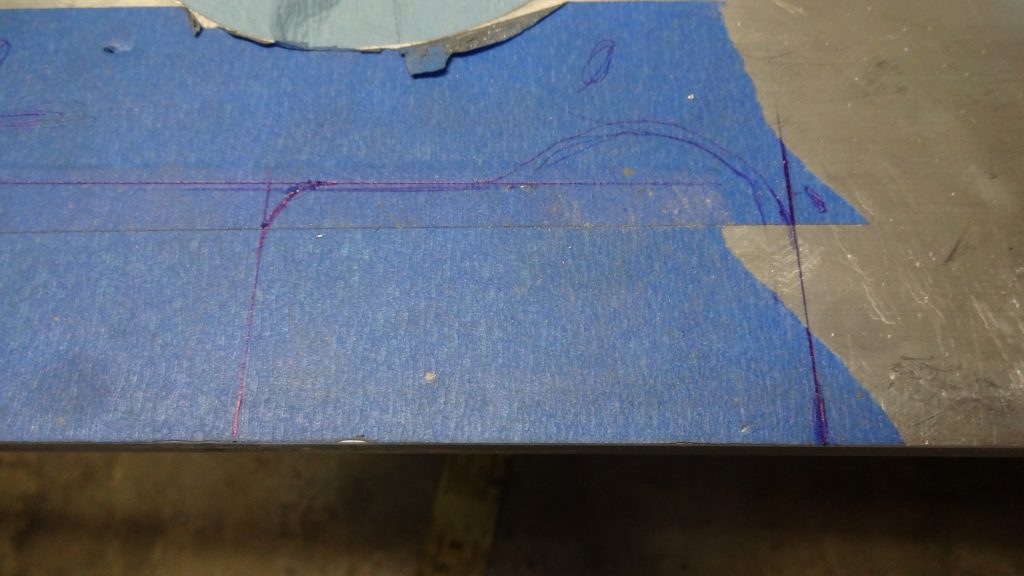
To add a couple additional mounting holes for the bracket, as plexiglass sheet was used to find the proper location.
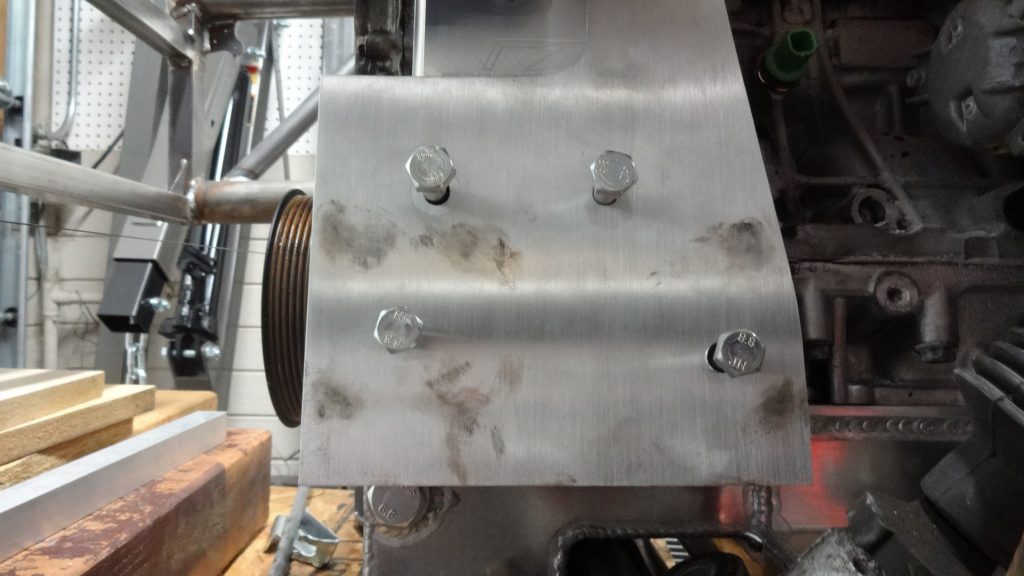
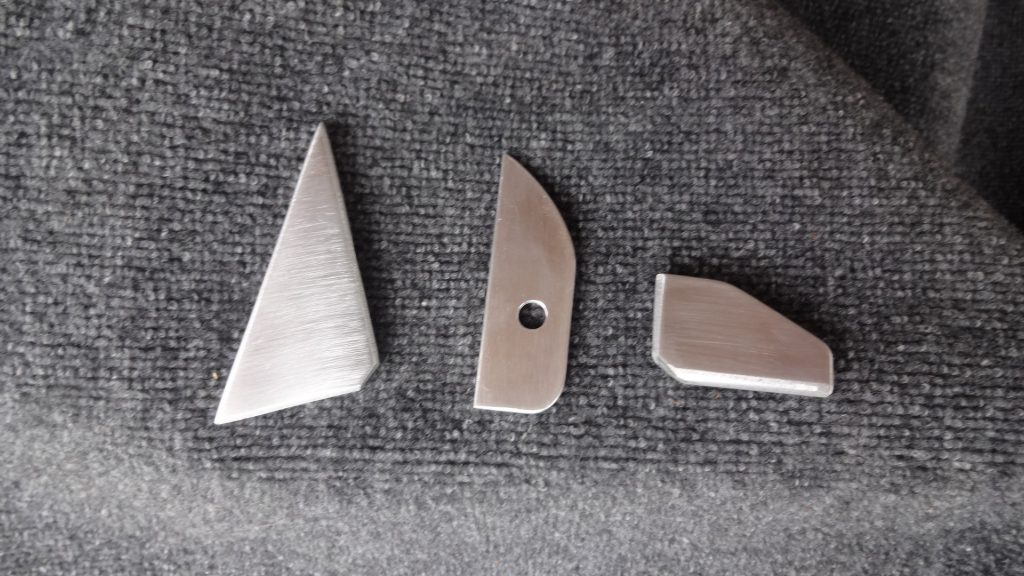
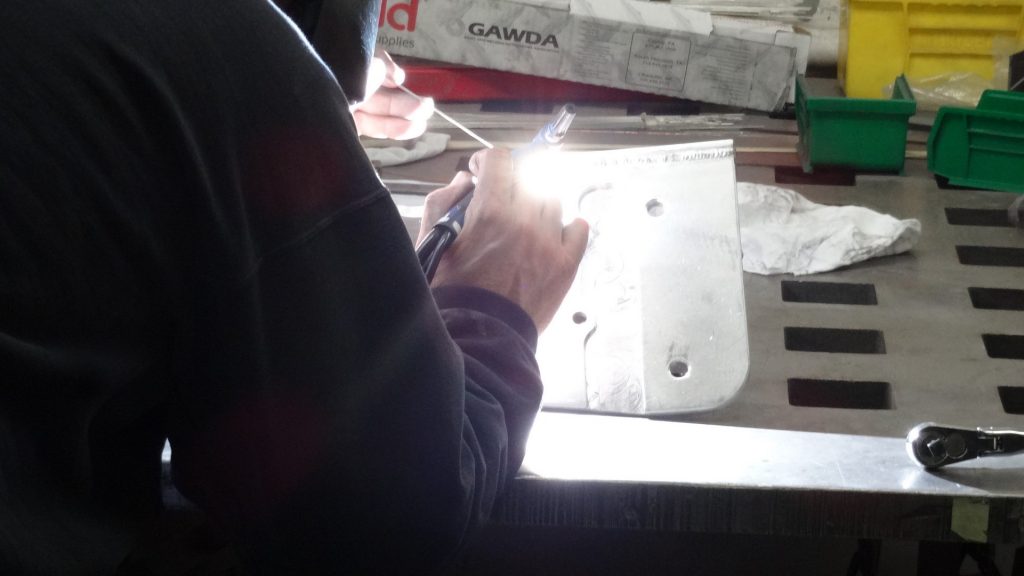
Final Preparation
A couple of gussets and mounting plate for the backside of the alternator were made. And all the parts were given a brushed finish with sandpaper before welding. Due to absence of welding ability, the parts were brought to a professional for welding.
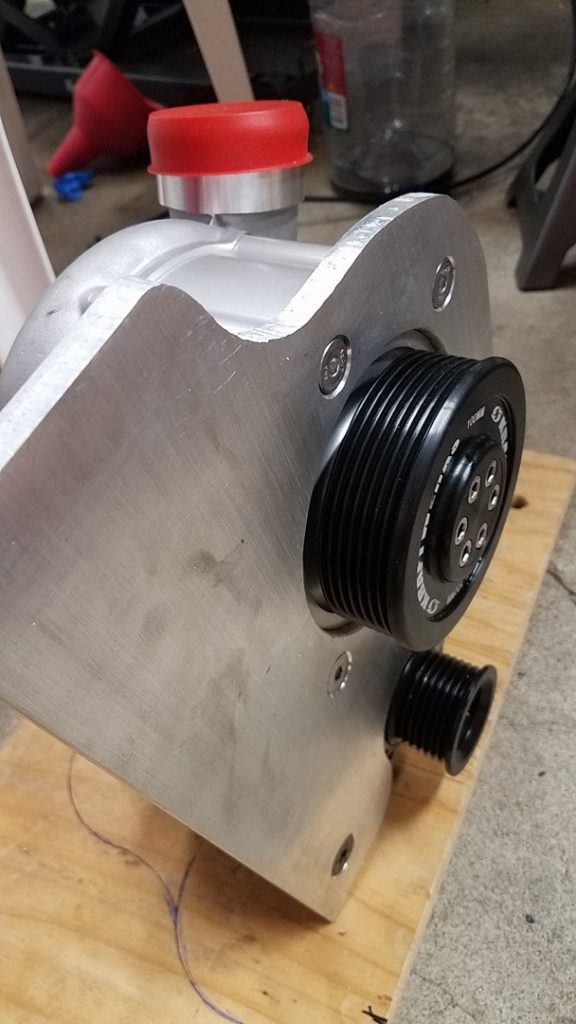
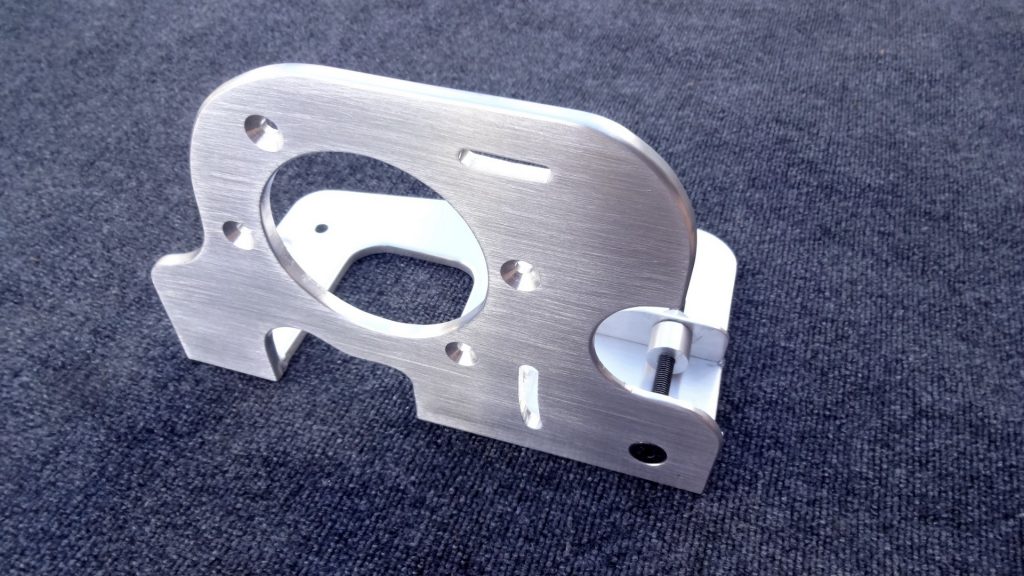
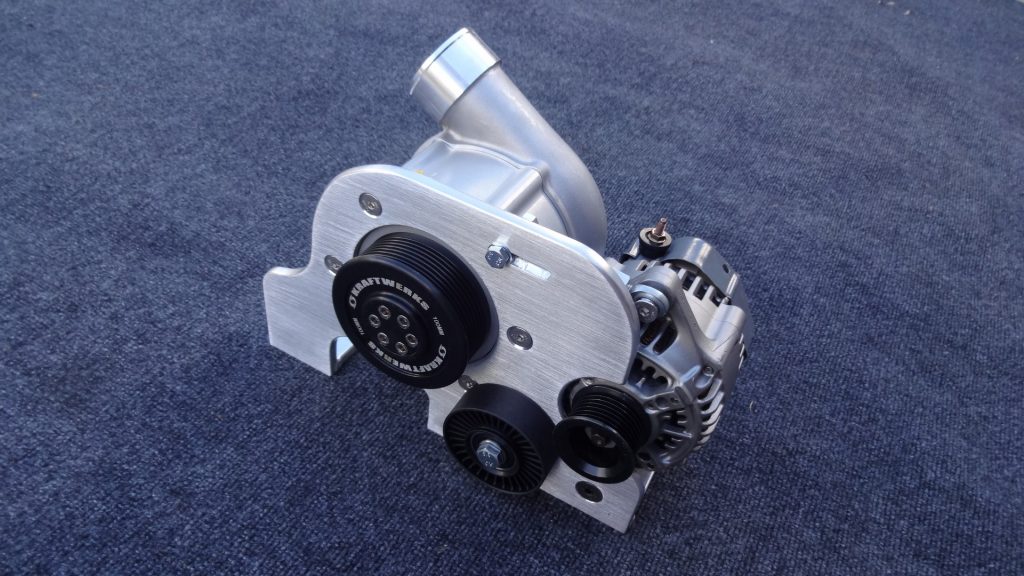
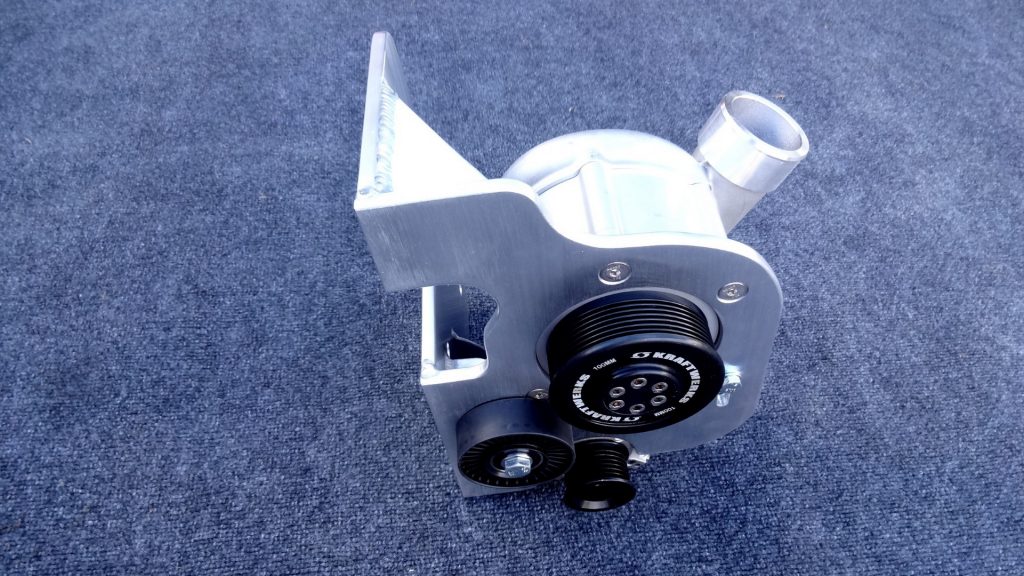
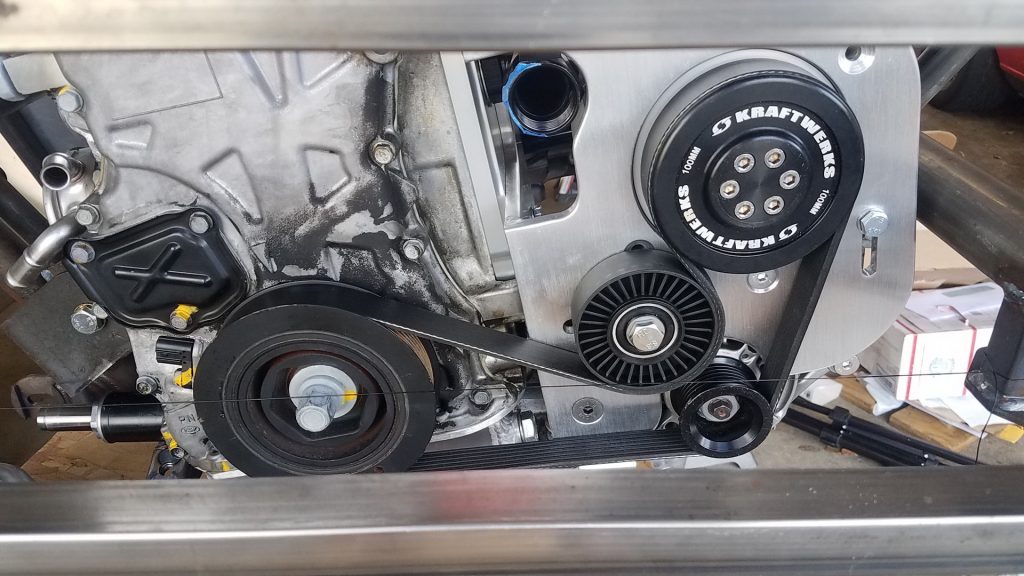
Result
The end result is pretty awesome! Luckily a belt that fit perfect was found, 7-rib belt sizes aren’t nearly as common as 6 or 8-rib.

Below is a preview of a post that is coming soon…the custom made intercooler. Be sure to like our Facebook page to see the rest of the build. To follow, simply click the button below. When the check mark appears next to the like you are good to go!


2 comments